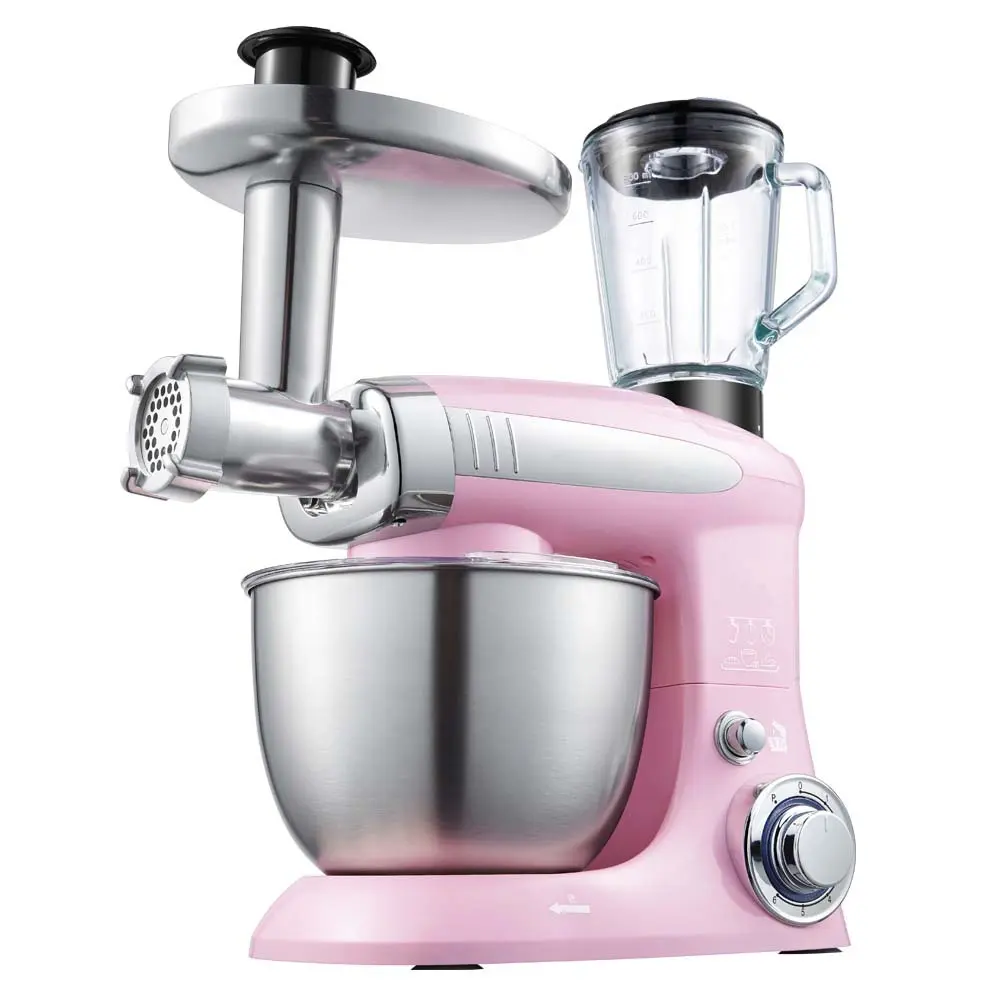
Are you tired of spending money on store bought butter? Have you ever wondered if there is a way to make butter at home using your trusty stand mixer? Well, you are in luck! In this article, we’ll guide you through the process of making homemade butter with a stand mixer. Get ready to experience the rich and creamy goodness of homemade butter right at your fingertips!
raw material:
To start this exciting culinary adventure, collect the following ingredients:
– 2 cups heavy cream (preferably organic)
– pinch of salt (optional, for enhanced flavor)
– ice water (to rinse the butter at the end)
– any mix desired (e.g. herbs, garlic, honey, etc. for extra flavor)
instruct:
1. Prepare stand mixer: Attach beater attachment to stand mixer. Make sure the bowl and mixer are clean and dry to avoid any contamination.
2. Pour in the heavy cream: Add the heavy cream to the bowl of a stand mixer. Start by setting the mixer on low speed to avoid splashing. Gradually increase the speed to medium-high. Let the blender work its magic for about 10-15 minutes, depending on the desired consistency.
3. Watch the transition: As the mixer mixes the cream, you will notice the different stages of transition. Initially, the cream will become whipped cream, then enter the granulation stage, and finally, the butter will separate from the buttermilk. Keep an eye on the mixer to prevent over-mixing.
4. Drain the buttermilk: After the butter has separated from the buttermilk, carefully pour the mixture through a fine-mesh sieve or a cheesecloth-lined colander. Collect the buttermilk for future use, as it is also a versatile ingredient. Gently press the butter with a spatula or your hands to remove excess buttermilk.
5. Rinse the butter: Fill a bowl with ice water. Dip the butter in ice water to cool further and set. This step will help remove any remaining buttermilk and extend the shelf life of the butter.
6. Optional: Add seasonings: If you want to add additional seasonings to your homemade butter, now is the time to do so. You can add herbs, garlic, honey or any other combination that tickles your taste buds. Mix these additions thoroughly with the butter until well combined.
7. Molding and storage: After completing the above steps, mold the butter into the desired shape. Whether rolled into a log, placed in a mold, or simply left as a piece, wrap it tightly with parchment paper or plastic wrap. Store butter in the refrigerator and it will stay fresh for several weeks.
Congratulations! You’ve successfully made homemade butter using a stand mixer. Embrace the satisfaction of creating a main ingredient from scratch, with the added bonus of customizing it to taste. Spread this golden delight on warm bread or use in your favorite recipes. Try different blends to surprise your taste buds. Remember, the world of homemade butter is yours to explore, and your stand mixer is the perfect companion on this culinary journey!
Post time: Jul-29-2023

